Wooden Gear Clock Instructions
Building a Wooden Gear Clock with a Bit of Patience and the Right Tools
Building a wooden gear clock at home that is similar to traditional grandfather clocks is not exceptionally difficult. It can save a lot of money on purchasing an expensive, antique clock. To build one at home, a few skills and plenty of patience are needed. If you have some good woodworking and assembly skills, you can build and paint one with simple hand tools, just as the early clockmakers did. The clock can turn out as a family heirloom.
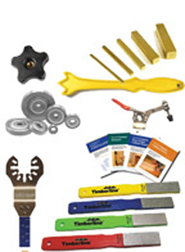
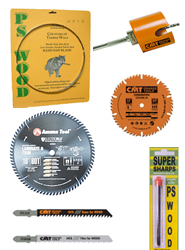
Begin by cutting all of the parts out first. The first piece is the third wheel. Rough cut the teeth on the scroll saw, and then file the teeth with a fine, carbide, scroll-saw file. The wheel could have 64 teeth, so this may take time. The cutting and filing can take about two and a half hours. Next, apply the brass rod and pinion. Wooden gear clocks are plagued with friction problems, so try to eliminate them by making adjustments to the gears, making sure that the gears are clean and lubricating the metal parts.
After the parts are cut out and filed, the large mesh of the pinion to the large gear needs cutting and testing. The frame of the clock needs gluing using a special glue to the wood. Pre-built frames often come with protective paper, and the easiest way to get the paper off of the wood is to dampen the paper with paint thinner for a minute and then peel the paper off. Then, wash the remaining glue off with the paint thinner. A mold out of plywood for the bobbing weights is the ideal, as the lead is not hot enough to cause much scorching of the wood mold. After a few adjustments, the wooden gear clock is ready to run.